
Grow Your Own: The Easy Guide to Planting Vegetables in Containers
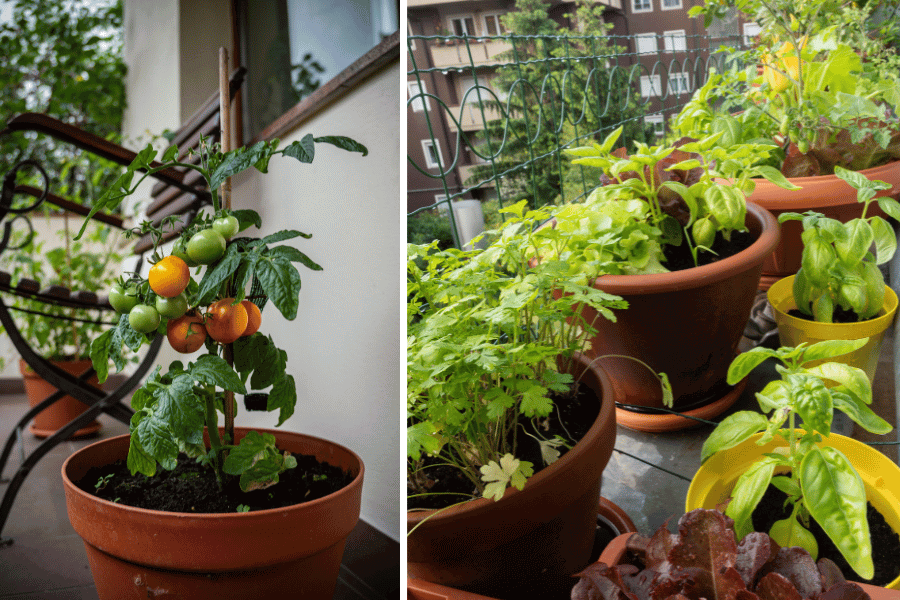
Fresh, homegrown vegetables don’t require a backyard or a green thumb. With a few containers, some quality soil, and the warmth of sunlight, you can start growing your own produce right on your balcony, patio, or even a sunny windowsill. Container gardening is one of the simplest and most rewarding ways to cultivate your own food, no matter where you live.
In this post, we’ll walk you through the steps to get started and highlight the many benefits of growing your own vegetables in containers.
Why Grow Vegetables in Containers?
Before we dig into the “how,” here’s why container gardening is such a great idea:
Space-Saving: Ideal for apartments or small homes with limited outdoor space.
Easy Maintenance: Containers make weeding, watering, and pest control easier.
Mobility: Move your plants to catch more sun or avoid bad weather.
Fewer Weeds and Pests: Raised containers can reduce common garden nuisances.
Fresh, Organic Produce: You control what goes into your soil—no chemicals needed.
Satisfying and Therapeutic: Growing your own food is deeply rewarding and relaxing.
What You’ll Need
Containers (pots, buckets, grow bags, or repurposed, sanitized containers)
Potting soil (preferably organic and well-draining)
Vegetable seeds or seedlings
Fertilizer (organic if preferred)
A sunny location (6–8 hours of direct sunlight per day)
Step-by-Step Guide to Planting Vegetables in Containers
1. Choose the Right Containers
Size matters. Larger vegetables like tomatoes and peppers need deeper containers (at least 12-18 inches deep), while lettuce and herbs can thrive in shallower pots.
Make sure your container has drainage holes. If not, add a few at the bottom to prevent soil from becoming water-logged.
Tip: Recycle old buckets, tubs, or even wooden crates. Just be sure they’re clean and safe for growing food.
2. Pick the Right Soil
Use high-quality potting mix—not garden soil. Potting mixes are designed to drain well and retain moisture without compacting. This is especially important when planting in containers, and differs from the soil used in vegetable gardens or beds.
You can also add compost for nutrients and a bit of perlite or vermiculite to improve aeration.
3. Select Your Vegetables
Great choices for beginners include:
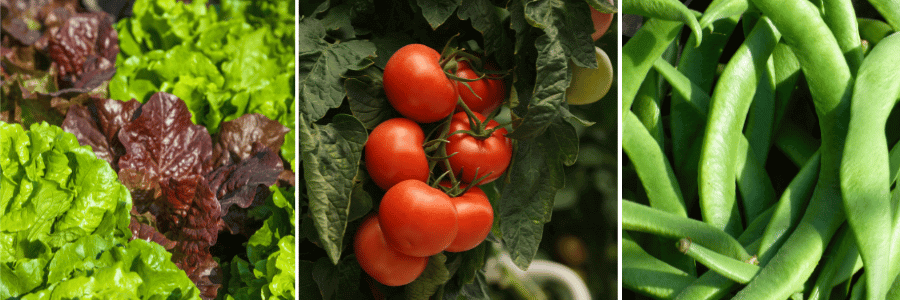
Leafy Greens: Lettuce, spinach, kale
Herbs: Basil, mint, parsley, chives
Tomatoes: Cherry or dwarf varieties
Peppers: Bell or chili peppers
Root Veggies: Radishes, carrots (look for short varieties)
Beans: Bush beans are especially container-friendly
4. Plant Your Seeds or Seedlings
Follow the spacing and depth recommendations on the seed packet or plant label. Press seeds gently into the soil and cover lightly. Water immediately after planting.
Pro Tip: Water thoroughly, but don’t overdo it. The soil should be moist but not soggy.
5. Provide Sunlight and Water
Place your containers where they’ll get 6–8 hours of sun daily. South-facing balconies or patios are ideal.
Check soil moisture regularly. Containers dry out faster than garden beds, especially in summer.
Water when the top inch of soil feels dry. Early morning is best to reduce evaporation.
6. Feed Your Plants
Vegetables in containers need more nutrients than those in the ground. Use a balanced, organic fertilizer every 2–4 weeks (or as recommended on the label).
7. Monitor and Harvest
Keep an eye out for pests like aphids or slugs and remove them promptly.
Harvest vegetables when they’re ripe—don’t wait too long or you might lose flavor and texture.
Harvesting frequently also encourages the plant to produce more!
Container gardening makes growing your own vegetables accessible, affordable, and incredibly satisfying. With just a little effort, you’ll be rewarded with crisp lettuce, juicy tomatoes, fragrant herbs, and the priceless joy of eating something you grew yourself.
Whether you’re a complete beginner or looking to simplify your gardening setup, planting in containers is a perfect place to start. So grab a pot, pick a plant, and get growing—your homegrown harvest awaits!
Discover how even the tiniest patio or balcony can become your personal green oasis! From small garden plants to compact cooking herbs plants for sale in Waterdown, we’re here to help you cultivate abundance in limited space. Grab nursery potting soil in Hamilton and stock up on indoor plants for sale in Waterdown or vegetable garden soil in Trenton to kickstart your mini-garden. Ready to grow more in less space? Visit us at your local plant nursery today and transform small areas into lush living spaces!

